
HANDLING RECOMMENDATIONS FOR IBC TANKS
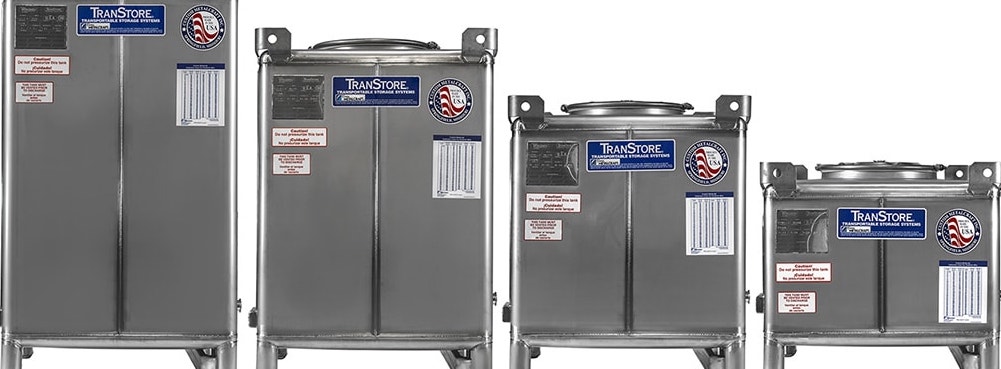
Designed to assist you in the safe use and proper handling of your TranStore® Intermediate Bulk Container (IBC).
Bottom lifting and moving the IBC with a forklift
1) Observe the “No Forks This Side” decal on the IBC, and do not attempt to enter or lift from this side of the IBC with a forklift.
2) Engage the forks of the fork lift fully under the bottom of the IBC or in the fork tube channels (if your IBC is equipped with fork tube channels).
3) Once you have fully engaged the forks under the IBC with the forks either resting on the bottom of the IBC or in the fork channels, you may lift and move the IBC per your standard forklift handling practices and procedures.
Top lifting and moving the IBC with an overhead hoist
1) Determine if the IBC is equipped with top lift lifting lugs. A lifting lug is a 90-degree projection on the top of the IBC located at each of the four corners, featuring a 1½” diameter hole or a combination of holes and tear drop shaped openings. If the IBC has lugs at the four corners but the lugs do not have holes in them, these lugs are not intended to be used for lifting the IBC.
2) Attach your lifting device to all four lifting lugs through either the 1½” diameter hole or the tear drop-shaped opening of the lug.
3) Once you have securely attached your lifting device to the lifting lugs of the IBC and the load is evenly distributed on the lifting lugs, you may lift and move the IBC per your standard overhead lifting practices and procedures.
Removing the drum cover from the IBC
1) Release the pressure from the IBC by slowly opening the bung and allowing all pressure to be released from the IBC.
2) Loosen the 5/8” nut on the clamp ring bolt between the two clamp ring lugs.
3) Remove the 5/8” x 5” long bolt from the clamp ring.
4) Grasp the lugs of the clamp ring and spread the clamp ring enough to disengage it from the IBC’s drum neck.
5) The drum cover can now be removed from the IBC. (Note: A strong seal may occur between the drum cover and the gasket. A small amount of force may be needed to release this seal.)
Filling the IBC
1) Ensure that the valve handle of the IBC is in the closed position with the positive lock engaged.
2) Ensure that the secondary seal is installed in the outlet end of the valve.
3) Release the pressure from the IBC by slowly opening the bung and allowing all pressure to be released from the IBC.
4) Once the pressure has been released from the IBC, open the filling aperture (i.e., the bung, 3” fusible cap, drum cover, etc.) Caution: Do not remove the 2” fusible vent (if equipped) to use as a filling aperture.
5) Fill the IBC per your standard filling practices and procedures, while taking care not to over fill the IBC.
Installing the drum cover on the IBC
1) Visually inspect the crown on the drum neck and the groove in the drum cover to be certain that both are clean and free of foreign materials, and that neither is bent nor damaged.
2) Inspect the gasket for cuts, rips or tears.
3) With the heavy cross section of the gasket up, apply the gasket to the opposite side of the drum neck and pull toward yourself. Once you have the gasket on the drum neck, the bottom of the gasket should be as far down as possible while ensuring that the gasket still covers the crown of the drum neck evenly.
4) Carefully position the drum cover directly over the opening and lower it vertically onto the gasket with the centerline of the groove in the drum cover aligned with the centerline of the drum neck.
5) With the drum cover resting on the gasket over the drum opening, ensure that the gasket has not moved or become dislodged.
6) While holding the clamp ring with the flats of the clamp ring lugs facing up, start one end of the clamp ring on to the drum cover and the drum ring. Carefully work the clamp ring around the circumference of the drum cover and the drum ring, taking care not to pull or pinch the gasket during the process.
7) Once the clamp ring is installed, check the gasket to ensure an equal quantity of gasket is showing below the clamp ring all the way around.
8) Visually inspect to ensure that the clamp ring is evenly positioned around the circumference of the drum cover.
9) Install the 5/8” x 5” bolt through the smooth bore lug on the clamp ring. Place the locking nut on the bolt between the lugs. Turn the bolt by hand two or three turns into the threaded lug of the clamp ring.
10) Slowly tighten the clamp ring bolt until you feel resistance as the clamp ring is pulling the drum cover down on to the drum neck.
11) Tighten the clamp ring to 30 F/P of torque using a hand-operated torque wrench.
12) Tighten the locking nut snugly against the smooth bore lug.
Discharging the IBC
1) Ensure the valve is in the closed position.
2) Release the pressure from the IBC by slowly opening the bung and allowing all pressure to be released from the IBC.
3) Properly vent the IBC by opening a filling aperture (i.e., the bung, 3” fusible cap, drum cover, etc.)
4) Remove the secondary seal from the outlet end of the valve.
5) Slowly open the valve and discharge the IBC.